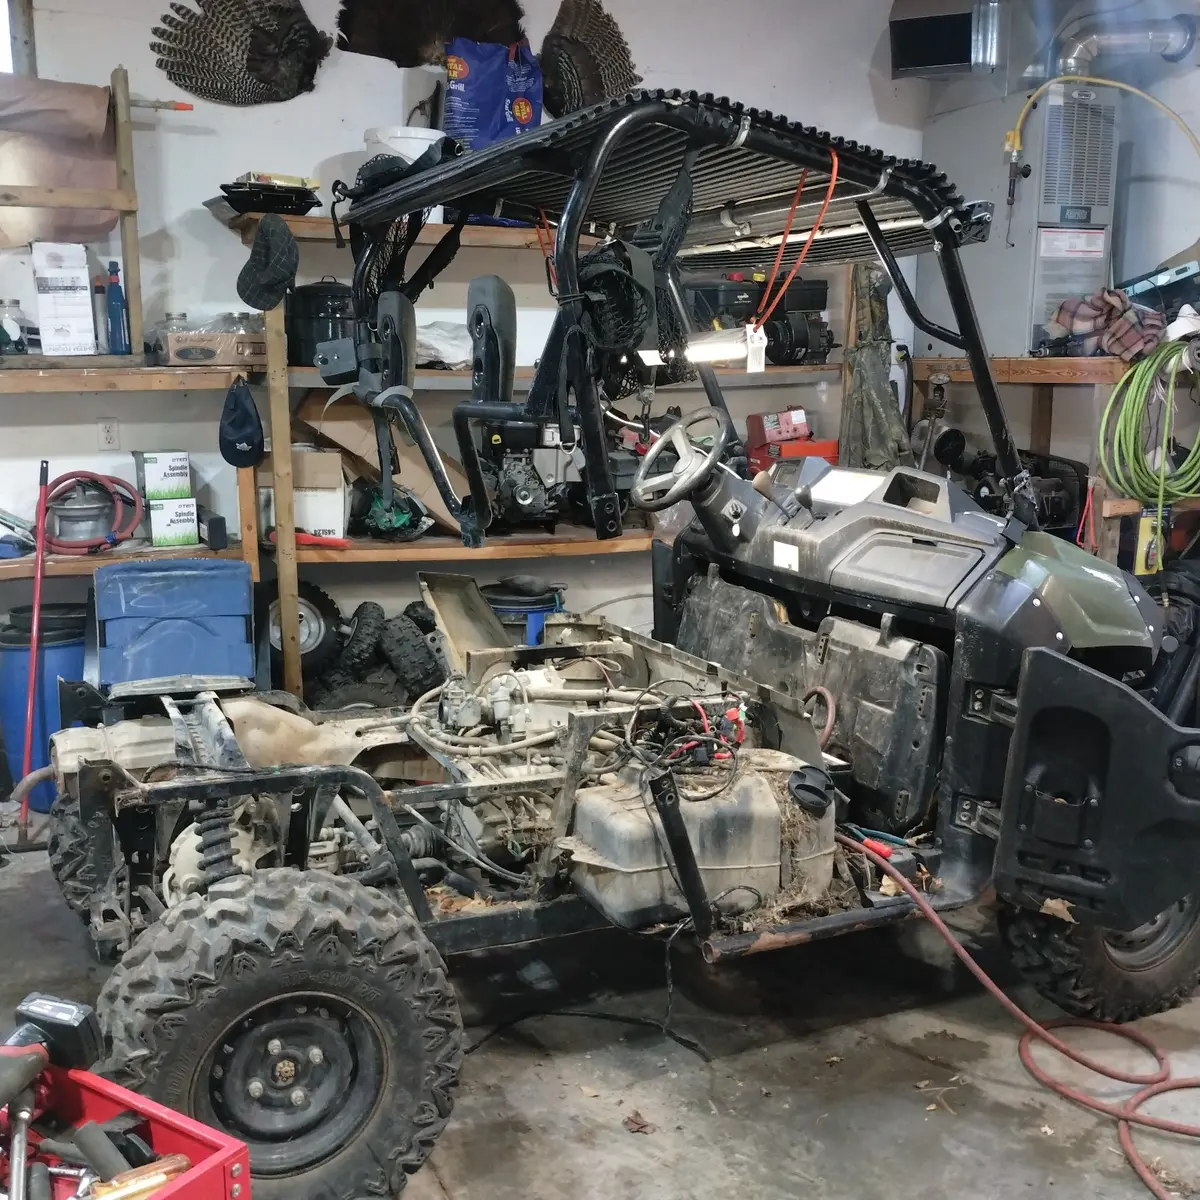
The complaint pointed at the intake
The ATV arrived after another shop had been unable to pin down the problem. The electrical evidence led toward a sensor on the intake, which makes it tempting to replace that sensor and call the diagnosis complete.
D&S kept following the circuit. The failed wire was real, but a wire normally does not break without a reason. That question — what made it fail? — opened the rest of the case.
The hidden cause was the frame
The ATV also had a broken frame. The damaged structure could move far enough in operation to change the distance and angle between the intake area and the harness. That repeated movement loaded the sensor wiring until a wire failed.
The frame problem and the sensor fault looked like two separate repairs. They were actually one cause-and-effect chain: frame damage allowed movement, movement stressed the wiring, and the broken wire created the intake-sensor symptom.
We corrected both problems. Fixing only the wire would have left the movement that broke it; fixing only the frame would have left the failed circuit. The machine needed the whole chain solved.
Why this kind of fault gets missed
Static inspections are useful, but machines do not live static lives. Chassis flex, engine movement, steering travel, heat and vibration can turn an intermittent weakness into a repeatable failure only under the right conditions.
- A code or symptom names a circuit, not automatically a failed component
- A conductor can break inside insulation that still looks normal
- The harness may test correctly while the frame is unloaded and fail only when it moves
- The visible frame damage may be far enough away that nobody connects it to the intake circuit
- Previous parts can add noise to the story and make everyone trust the first theory
How the circuit should be proved
A replacement sensor cannot restore a missing wire, a weak ground or a damaged connector. A repaired wire cannot survive if the machine still pulls it apart.
- Confirm the exact code or live-data behaviour before clearing anything
- Test sensor reference voltage, ground and signal using the correct service information
- Inspect terminals for spread pins, corrosion, poor tension and moisture
- Check continuity while safely moving the relevant harness section by hand
- Look for rub-through, tight routing, unsupported weight and witness marks
- Inspect the mounts and structure that control how far the engine, intake and harness can move
A structural failure changes the safety decision
A cracked or broken ATV frame is not just another nuisance fault. Stop riding the machine. The damaged area, nearby welds, suspension loads and frame alignment need proper assessment before the vehicle returns to service.
Once the structure and circuit are corrected, the repair still needs verification: secure harness routing, normal sensor data, no returning fault, and no abnormal movement that can recreate the damage.
The diagnostic lesson
When mechanical and electrical symptoms appear together, do not force them into separate boxes too early. Ask whether one failure can physically create the other. That is often where the weird problem finally becomes a logical one.
The code showed where the ATV noticed the fault. Following the broken wire back to the moving frame revealed why it happened — and why both repairs mattered.
This is general information, not a diagnosis of your machine. Shut equipment down, remove the key, isolate the spark plug or battery as appropriate, let hot parts cool and keep fuel away from ignition sources. Stop if the check involves exposed moving parts, safety interlocks, internal timing or anything beyond your experience.